Casting Polyurethane Rubber
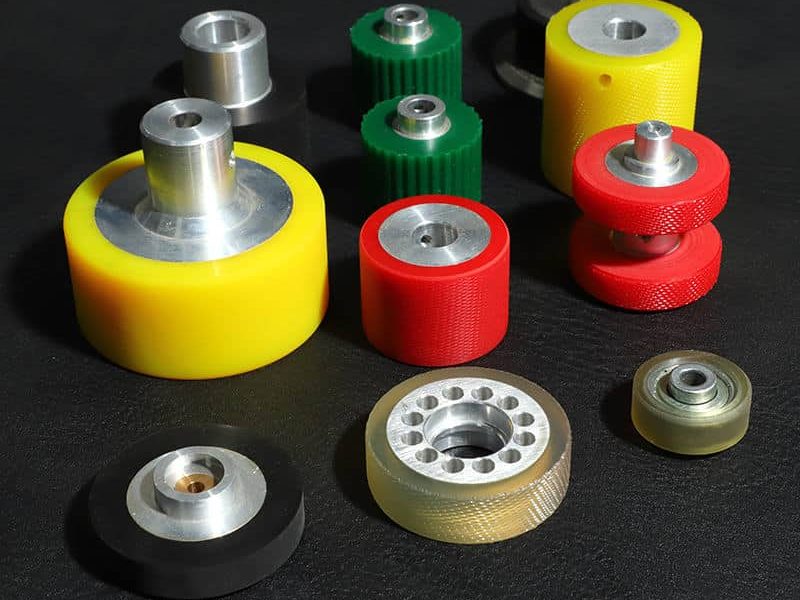
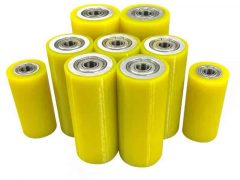
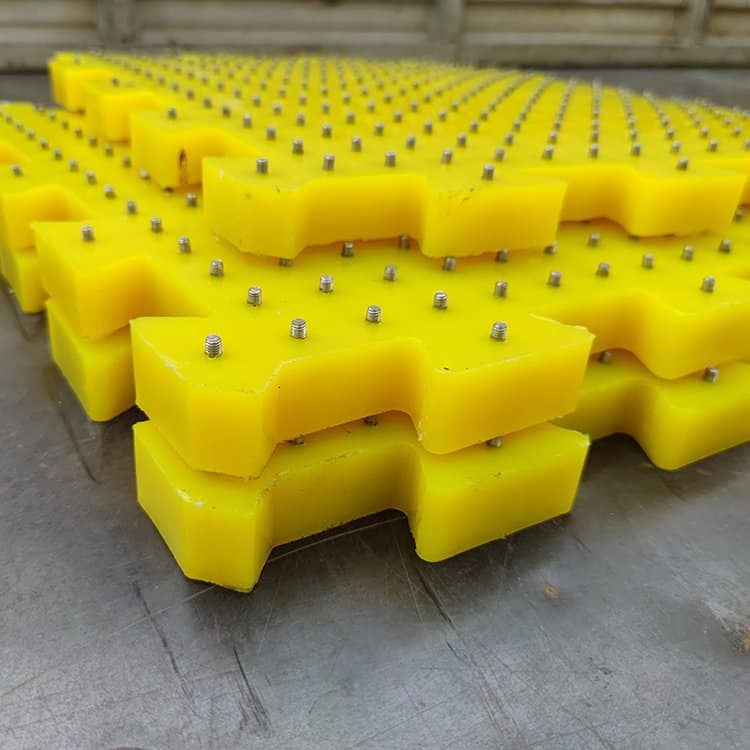
Casting polyurethane rubber is a popular method used by manufacturers to create durable and flexible products. The process involves mixing two liquid components, the polyol and the isocyanate, together in the correct proportions. This mixture is then poured into a mold or cavity where it will harden and cure over time.
To ensure a successful casting, it’s important to follow proper safety precautions such as wearing protective gloves and eyewear, working in a well-ventilated area, and following manufacturer guidelines for handling the chemicals. The mold should also be prepared by applying a release agent to prevent the cured rubber from sticking to the surface.
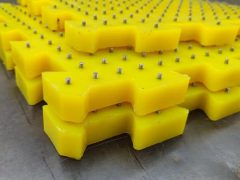
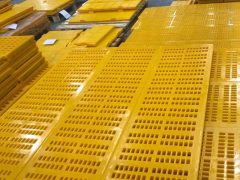
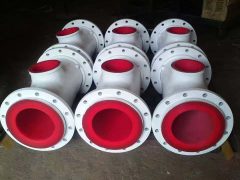
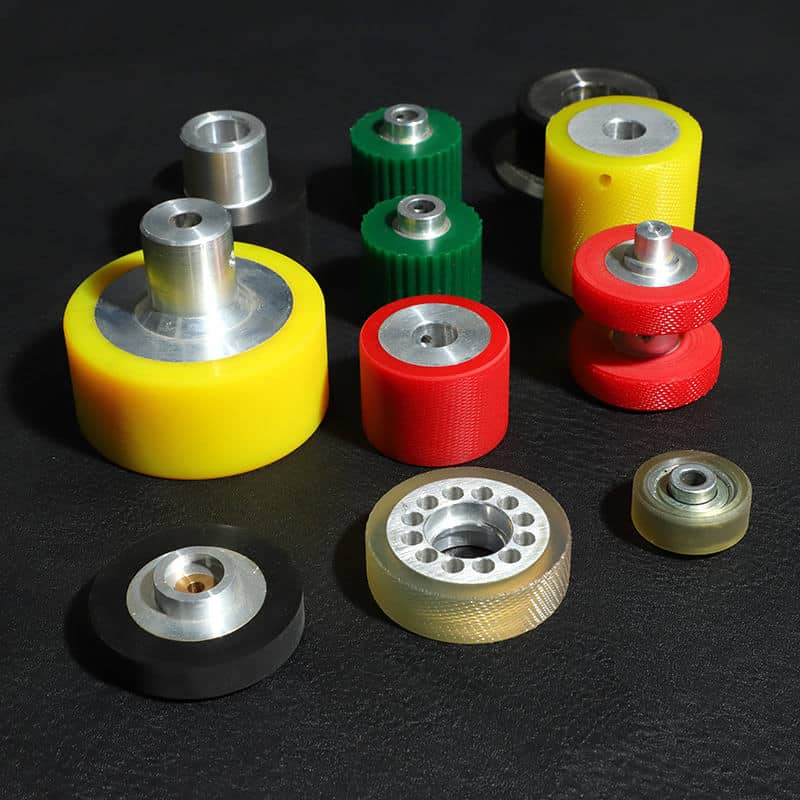
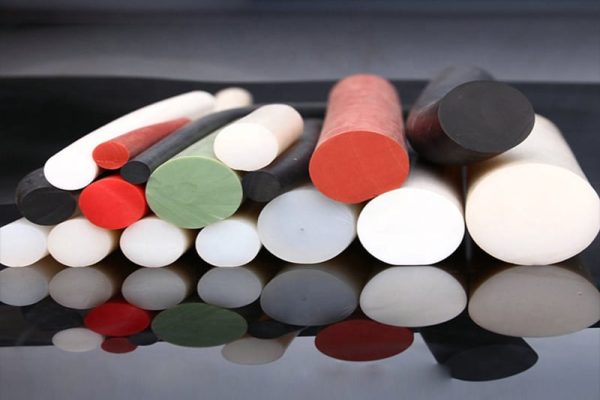
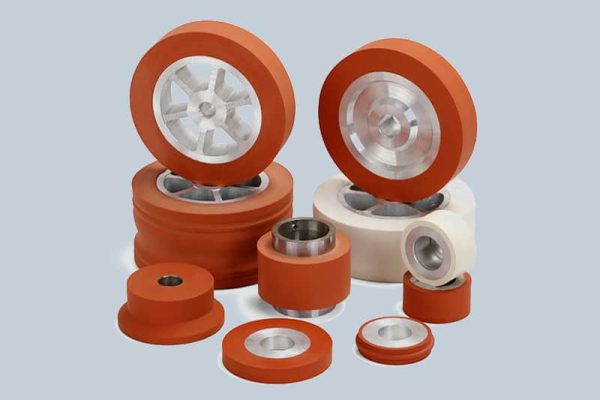
Once poured into the mold, the mixture will begin to expand slightly as it cures. After several hours or days depending on the product requirements, the casted rubber can be removed from the mold and finished with additional steps such as trimming excess material or adding texture. Overall, casting polyurethane rubber offers manufacturers an efficient way to produce high-quality products with various levels of hardness and flexibility for a range of industries including automotive parts, consumer goods, and medical devices.
If you are finding the casting polyurethane service company, please contact us feel free.
Materials and Supplies
When it comes to casting polyurethane rubber, the materials and supplies you use are critical to achieving a successful outcome. First and foremost, you will need a mold made from silicone or other appropriate material to hold the liquid polyurethane. Additionally, you will need release agents such as petroleum jelly or spray-on solutions that prevent the cured rubber from sticking to the mold.
The next essential supply is the polyurethane itself, which typically comes in two parts: resin and hardener. It’s crucial to measure these components accurately for optimal curing time and strength of the final product. Depending on your desired hardness or flexibility level, you can choose from different types of polyurethane with varying ratios of resin-to-hardener.
Other important materials include mixing cups, stir sticks, gloves, and safety glasses since handling liquid polyurethane requires careful attention to avoid skin irritation or eye damage. Once all these materials are available and set up correctly according to manufacturer instructions, it’s time to start casting!
Prepping the Mold
Before casting polyurethane rubber, prepping the mold is an essential step that cannot be skipped. First, the mold must be clean and free of any debris or dirt. This can be achieved by brushing the surface of the mold with a soft-bristled brush to remove any loose particles.
Next, it is important to apply a release agent to the mold surface. The release agent will prevent the polyurethane rubber from sticking to the mold and ensure a smooth release once cured. There are different types of release agents available in the market, such as sprays or liquids, and choosing one depends on various factors like resin type and cure time.
Finally, it is recommended to add venting channels in areas where air pockets can form during curing. These channels allow trapped air to escape during casting and prevent defects in the final product. Venting channels can be created by drilling small holes into areas where air might get trapped, such as corners or tight spaces.
Overall, properly prepping your mold before casting polyurethane rubber is crucial for achieving high-quality results and ensuring your molds last longer without damage.
Mixing the Rubber Compound
To cast polyurethane rubber, one needs to mix a two-part liquid compound. The first part is the polyol or resin, which provides the polymer’s backbone. The second part is the isocyanate or hardener that reacts with the polyol to form a solid polymer. Mixing these two parts together initiates a chemical reaction that transforms the liquid mixture into an elastic and durable material.
The mixing process must be precise as it determines the properties of the final product. Inadequate mixing may leave unmixed pockets in your final casting, resulting in inconsistencies in hardness, color, and texture. It can also cause premature wear and tear on equipment due to uneven distribution of stress throughout your casting.
To achieve optimal results during mixing, it is essential to use accurate measurements for both parts of your compound, follow manufacturer instructions closely and use proper safety equipment such as gloves, goggles and respirators when handling these chemicals. Once you have mixed your compounds thoroughly, pour them into their designated molds quickly before they begin curing or hardening – this ensures uniformity across all of your casts.
Pouring & Curing
Pouring and curing are essential steps in casting polyurethane rubber. Before beginning the process, it is important to prepare the mold by cleaning and applying a release agent. Once the mold is ready, it’s time to mix the polyurethane rubber according to manufacturer instructions. The ratio of parts A and B must be precise to ensure proper curing.
Next, slowly pour the mixed polyurethane rubber into the mold. It’s important to avoid introducing air bubbles during this step by pouring slowly and using a thin stream of the mixture. After pouring, gently tap or vibrate the mold to help any remaining air bubbles rise to the surface.
The curing process can take anywhere from several hours to a few days depending on factors such as temperature, humidity, and thickness of the cast. It’s important not to disturb or remove the casting until it has fully cured as premature removal can result in deformation or tearing of the material. Once fully cured, carefully remove your new polyurethane rubber object from its mold for further use or finishing touches.
Finishing Touches
After pouring the polyurethane mixture into the mold, it’s time to focus on the finishing touches that will make your final product shine. One of the most important steps is to carefully remove any air bubbles that may have formed during the casting process. This can be done by gently tapping or vibrating the mold to encourage any trapped air bubbles to rise to the surface and pop.
Once you’ve ensured that all air bubbles have been removed, it’s time to let your polyurethane rubber cure. The curing process typically takes several hours and should not be rushed. It’s important that you let your cast sit undisturbed until it is fully cured before attempting to remove it from the mold.
Finally, once your cast has fully cured, you can begin removing it from the mold. This should be done carefully so as not to damage or distort your final product in any way. With a bit of patience and attention to detail during this finishing stage, you’ll end up with a beautifully crafted piece made from polyurethane rubber!
Conclusion
In conclusion, casting polyurethane rubber requires careful preparation and attention to detail. Before starting the casting process, it is important to properly measure and mix the components of the polyurethane resin according to the manufacturer’s instructions. This will ensure that the final product has the desired properties and characteristics.
Once the resin is mixed, it should be poured into a mold that has been properly prepared with a release agent. The mold should then be left undisturbed for several hours to allow the resin to cure completely. After curing, any excess material can be trimmed away and the finished product can be removed from the mold.
Overall, casting polyurethane rubber can be a challenging but rewarding process for those who are willing to put in the time and effort required. With proper technique and attention to detail, it is possible to create high-quality castings that meet your specific needs and requirements.

